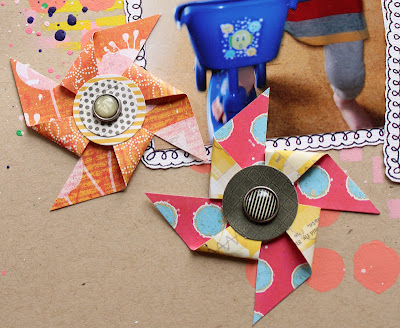
I have been asked to make a tutorial of how to make pinwheels for layouts etc. It’s really easy to do!
1. Cut some squares in the size you prefer. The diagonal length represents the outer measure of the pinwheel. These squares are 5 cm. Choose papers that have colors that you like on both sides as both sides will be visible. If you don’t find the papers you are looking for you can cover one side with washi tape as I did here, or in another creative way…
2. Draw a line from corner to corner.
3. Cut along the lines, but only 2/3 of it. Erase the lines but keep the cross in the middle as you will need to know exactly where the middle is.
4. Fold every other corner in towards the center so they overlap a bit.
5. Fasten the corners with a brad, or glue them together and decorate with something in the middle. Finished! :)
(You can watch the layout here.)
And here’s another example: (These are 5.5 cm)
(You can watch the layout here.)
Thanks for looking! If you create some pinwheels using this tutorial I hope you leave a message here as I would love to see all different ways to make them!!! Cheers


Realmente os cata ventos dão um charme na página.
ReplyDeleteObrigado por mostrar.
Beijos.
These pin wheels are so cool, the way you show it here makes it look so easy. I have yet to try, realised I could have used ptteren paper on my latest LO, of my sons party, and added a small one there. well never to late ...
ReplyDeleteSå hyggelig med besøk i bloggen min. Gleder meg til å følge de nye og spennende utfordringene som måtte komme.
Ha en flott å kreativ uke
Klem :)